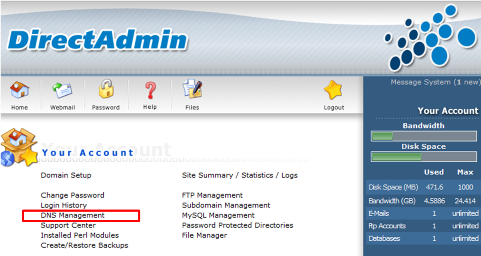
Note: If your Direct Admin does not have this
feature, please inform our support team to enable it.
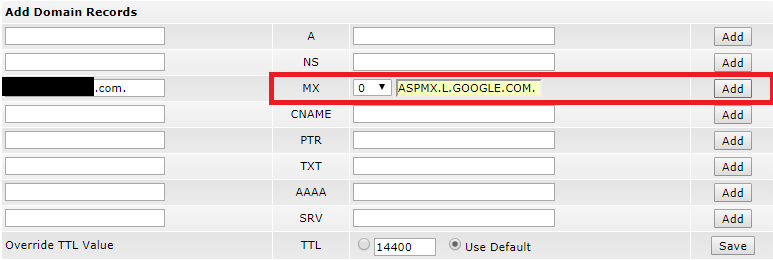
3)Scroll
down to the bottom (under the ‘Add Domain Records’ section). Type
‘ASPMX.L.GOOGLE.COM.’ and select ‘10’ for the MX record as shown below.
Press
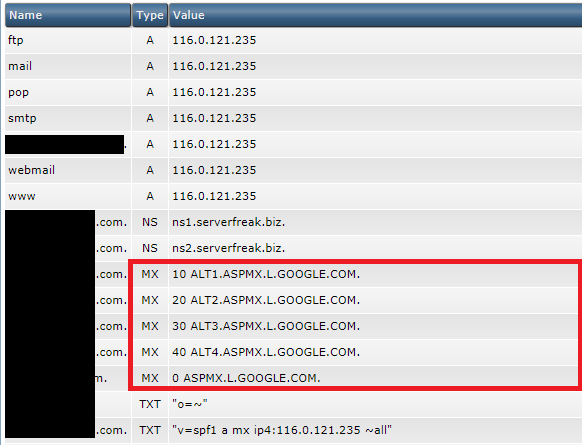
“Add” to confirm changes. 4) Repeat
the same step to add ALT1.ASPMX.L.GOOGLE.COM. , ALT2.ASPMX.L.GOOGLE.COM. , ASPMX2.GOOGLEMAIL.COM. , ASPMX3.GOOGLEMAIL.COM.
Insert each
of the above priorities in the sequence of ‘20’, ‘30’, ‘40’ and ‘50’
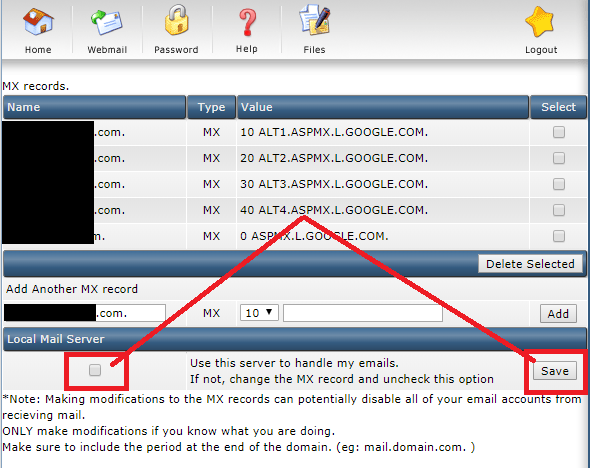
5) You
shall be able to see the changes as shown below.
6) Your MX records are now configured to point
to Google. Keep in mind that changes to MX records may take up to 48 hours to
propagate throughout the Internet.
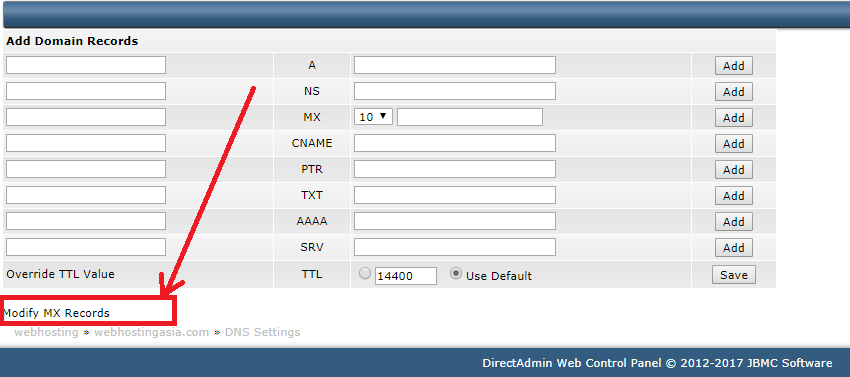
7) The final step is to click on "Modify MX Record" as shown below.
8) Uncheck the box for Local Mail Server. Press the Save button to save changes.