Note: You may download Google Authenticator App or Authy app. In this tutorial, we shall be using Authy app for illustration purpose.
1) First, please browse Google Playstore to download "Authy 2-Factor Authentication" and install it into your smartphone.
2) Open Authy app and key in your Country Number (60 for Malaysia) and your phone number. Press the OK button when it's done.
3) Enter your email address and press the OK button.
4) Choose either Phone Verification or SMS Verification. In this case, I'll pick SMS verification for this purpose.
5) Enter the 6 Digit Authy registration code as shown in your SMS. 
Authy will require you to enter your preferred Backup Passwords.
Enter your password twice before pressing the "Enable Backups" button.
6) Now we need to login to our ServerFreak Client Area to enable 2 FA authentication.
Kindly visit the following link for this purpose:
=> https://secure.web-hosting.net.my/clients/clientarea.php?action=security
You need to enter your client area login email address and password beforehand.
7) Once you have logged in, scroll down to the "Two Factor Authentication" section and click on "Click here to Enable" button.
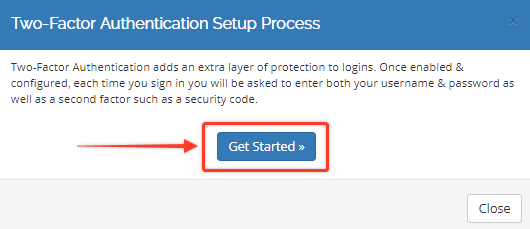
8) Click "Get Started" button
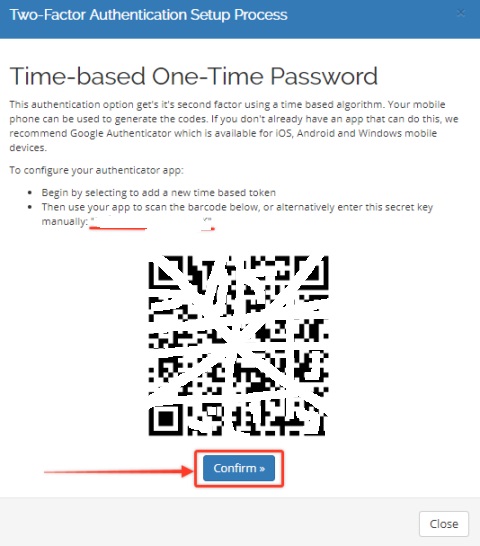
9) It will show the following Two-Factor Authentication Setup Process page to you.
You have two choice(s): You may enter the secret key manually or scanning the barcode.
For this tutorial, I will choose Barcode Scanning method.
You need to scan the barcode as shown on your screen using your Authy app first.
DO NOT PRESS the "Confirm" button below until the barcode scanning is done.
To scan the barcode, first click on "Add Account" on your Authy app and it will bring you the following page:
You have 2 choices: SCAN QR CODE or Enter Key Manually.
For this tutorial purpose, I will click on "SCAN QR CODE"
Now, use your smartphone to scan the barcode as shown on your computer screen
DO NOT PRESS the "Confirm" button below until the barcode scanning is done.
Now your Authy app will show something like the one below once you have scanned the barcode:
Press the DONE button to complete 2FA setup on your Authy app. 
Now your Authy app will show a 6 Digit numeric token that refreshes every 30 seconds.
Also remember to press the "Confirm" button on your computer screen as shown in the picture below.
10) Congratulations, you have successfully enabled 2FA authentication!
IMPORTANT NOTE: Remember to copy your 16-Digit Backup Code securely because you will need this Backup Code in the future in case you ever lose your smartphone. Save this 16-Digit Backup Code on your Notebook or on a piece of paper.
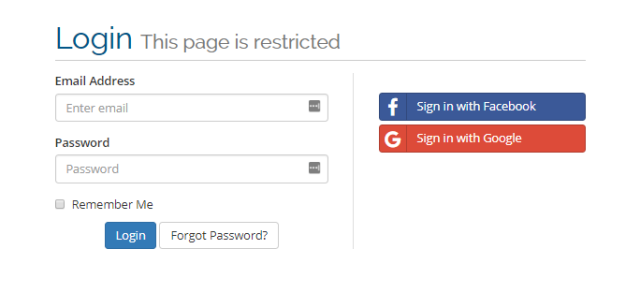
11) To verify whether 2-FA has been enabled in your Client Area, first you need to logout from your Client Area. Next login to your client area again by visiting https://secure.web-hosting.net.my/clients/clientarea.php and enter your email address and password
12) It should prompt the following once you have entered your email address and password for your Client Area.
This is where you enter you 6 Digit Authy Code as shown in your Authy App.
Next, press the Login button to complete the 2FA verification!