1) Login to Web Host Manager (WHM)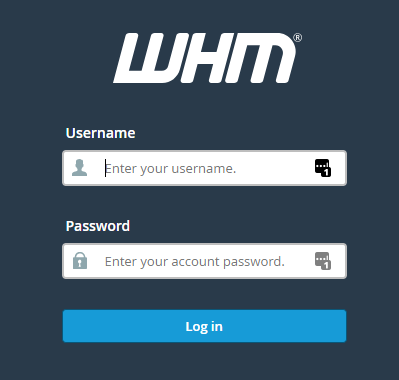
2) Search as "dns" in the search box and hit enter.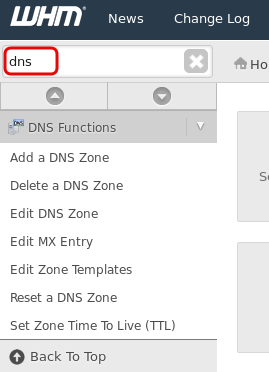
3) Select Edit DNS Zone in the search results.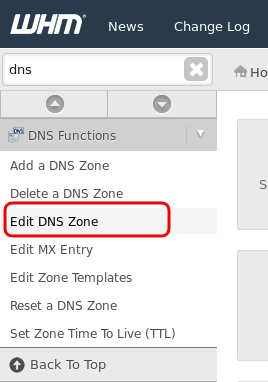
4) Select a domain to edit and click Edit.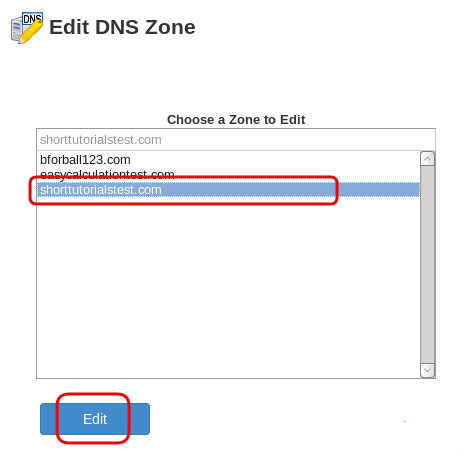
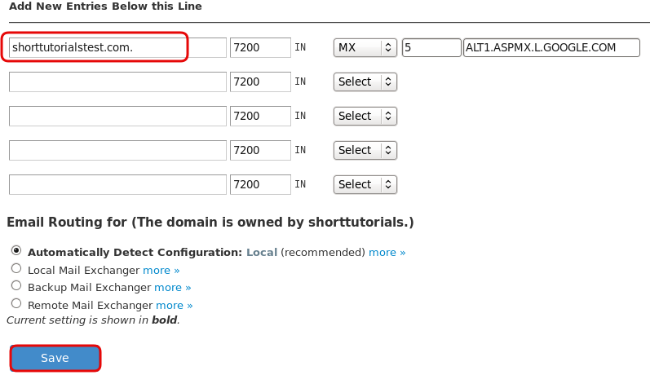
5) In DNS zone, scroll down and under Add New Entries below, select MX from the drop down.
If the mx entry is in local mail exchanger change it to Automatic Detect Configuration.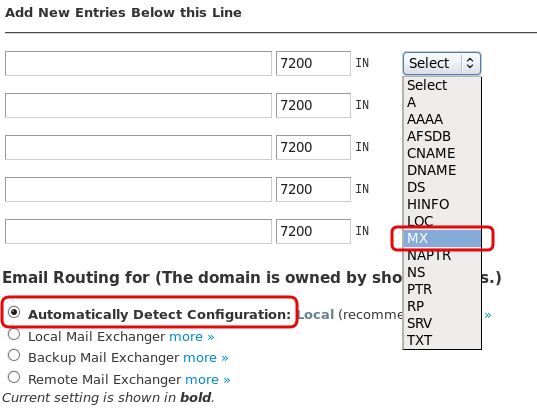
6) Provide the priorities and MX Destination correctly.
7) Enter the domain name to configure the mx entry and click Save.