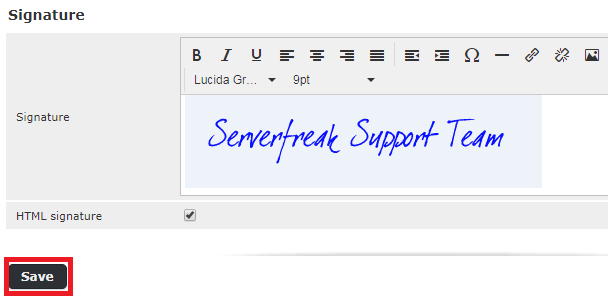
Below are the steps on how to include an image in your RoundCube signature.
Add a HTML signature with image will help to spice up your company image or branding.
The first step is to set HTML Editor for composing emails and followed by setting up the image in the signature.
Step 1: Set Email Composer to use HTML Editor by Default
1) Log into your webmail interface.
2) Select RoundCube from the email client choices.
3) Click on Settings, found in the upper right corner of the screen.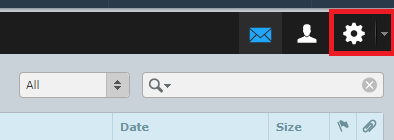
4) Click on Preferences.
5) Click on Composing Messages, under the Section column.
Set the Compose HTML messages dropdown to 'Always'.
Click Save.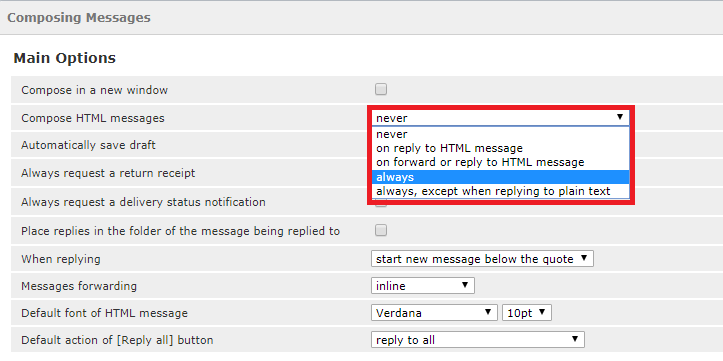
Step 2: Set the Image in the Signature
Since we have completed Step (1) above, you can set the signature to have the image.
1) Click on Settings in the upper right hand corner.
2) Click on Identities.
3) Click on the identity you want to set the signature for from the Identities column.
4) In the right hand panel, locate the 'Signature' field. To add an image, click the Insert/edit image icon on the toolbar.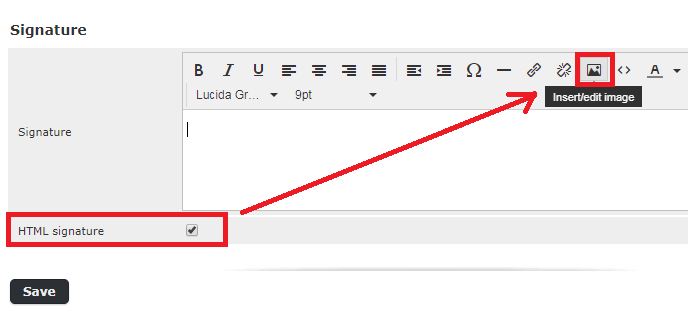
5) This brings up a separate editor box. Upload your signature image here and then click Update.
6) The image should now appear in the Signature box. Click on the Save button to save the signature.